Looking to create your own plexiglass box? Look no further! Crafting a sleek and modern plexiglass box can be a fun and rewarding DIY project. All you need are a few materials and some simple steps to bring your vision to life. In this guide, we will walk you through the process of how to make a plexiglass box from start to finish. Let’s get started!

How to Make a Plexiglass Box
Welcome, DIY enthusiasts! Today, we’re going to dive into the exciting world of crafting a plexiglass box from scratch. Whether you’re looking to showcase a special item, organize your belongings, or simply get creative, making a plexiglass box is a fun and rewarding project. Let’s get started on this step-by-step guide to creating your very own custom plexiglass box!
Materials You’ll Need:
Before we start crafting, let’s gather all the materials needed for this project. Here’s what you’ll need:
1. Plexiglass Sheets:
The main material for this project is plexiglass sheets, which are transparent and come in various sizes and thicknesses. Make sure to choose the right size based on your box dimensions.
2. Acrylic Solvent Cement:
This special adhesive is designed for bonding plexiglass pieces together. It creates strong, durable bonds that will hold your box together securely.
3. Cutting Tool:
You’ll need a tool for cutting the plexiglass sheets to your desired dimensions. A plexiglass cutter or a fine-toothed saw can work well for this purpose.
4. Ruler and Pencil:
To measure and mark the plexiglass sheets accurately, a ruler and pencil will come in handy. Precision is key to ensuring your box fits together perfectly.
5. Gloves and Safety Glasses:
Working with plexiglass can create sharp edges and fine particles, so it’s important to protect your hands with gloves and your eyes with safety glasses.
6. Optional: Decorative Elements:
If you want to add a personal touch to your plexiglass box, consider adding decorative elements like stickers, paint, or stencils.
Step 1: Planning Your Box
First things first, decide on the size and design of your plexiglass box. Consider what you’ll be using the box for and how you want it to look. Sketch out a blueprint of the box with precise measurements to guide your cutting and assembly process.
Step 2: Cutting the Plexiglass Sheets
Once you have your design ready, it’s time to cut the plexiglass sheets to the correct dimensions. Using a cutting tool and following your measurements carefully, cut each piece of plexiglass according to your blueprint. Remember to wear your safety gloves and glasses during this step.
Step 3: Assembling the Box
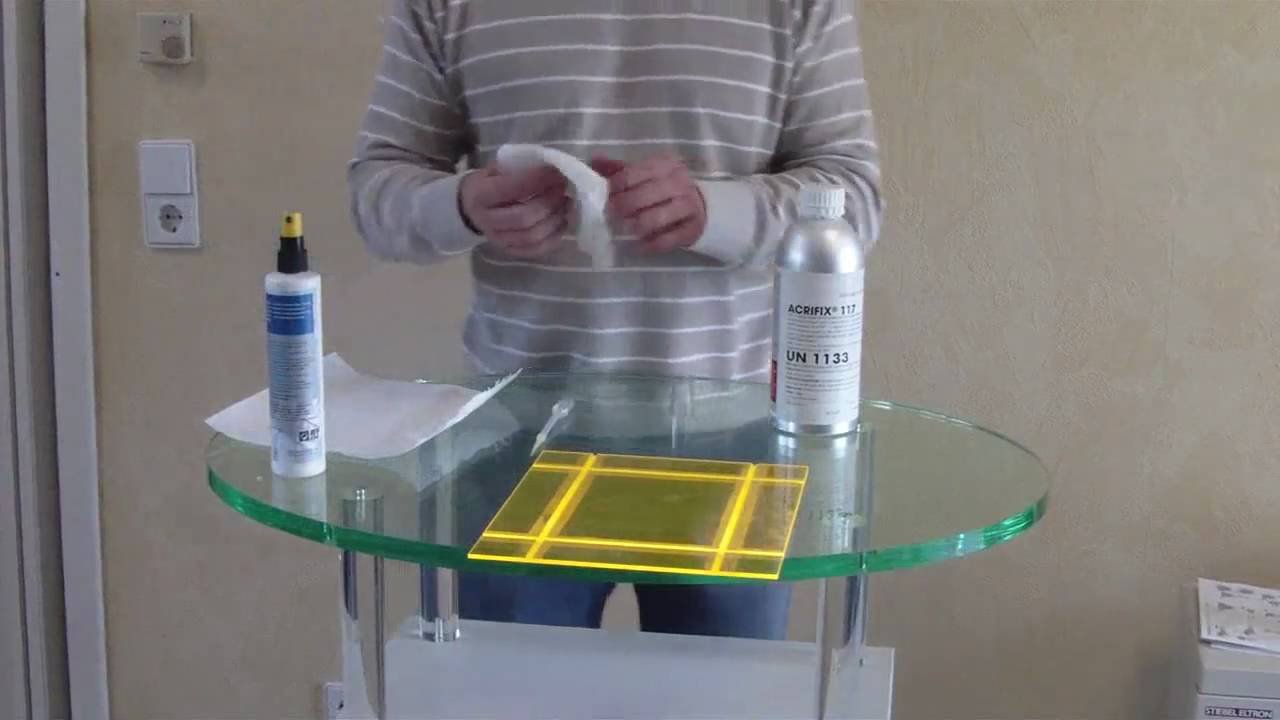
Now comes the exciting part – assembling your plexiglass box! Apply a thin layer of acrylic solvent cement along the edges of the plexiglass pieces that need to be joined. Press the pieces together firmly and hold them in place for a few seconds to allow the adhesive to bond.
Step 4: Adding Finishing Touches
Once your box is assembled, take a final look to ensure everything is securely bonded. If you’re happy with the result, you can add any decorative elements at this stage. Let your creativity shine as you personalize your plexiglass box to reflect your style.
Step 5: Enjoy Your Creation
Congratulations, you’ve successfully crafted your own plexiglass box! Whether you’re using it for storage, display, or gifting, your handmade box is sure to impress. Place your cherished items inside, showcase your creativity, and bask in the satisfaction of completing a DIY project from start to finish.
Remember, practice makes perfect, so don’t be discouraged if your first attempt isn’t flawless. Crafting a plexiglass box takes patience and precision, but the end result is well worth the effort. Get creative, have fun, and enjoy the process of bringing your unique plexiglass box to life!
We hope this guide has inspired you to embark on your plexiglass box-making journey. Happy crafting!
Gluing Plexiglass with Acrylics Glue
Frequently Asked Questions
What materials are needed to make a plexiglass box?
To make a plexiglass box, you will need a sheet of plexiglass, a ruler, a pencil, a cutter or saw, adhesive suitable for plexiglass, and protective gloves and eyewear.
How do I measure and cut the plexiglass for the box?
Use a ruler and pencil to measure and mark the dimensions on the plexiglass sheet. Then, carefully cut along the marked lines using a cutter or saw. Make sure to apply even pressure to avoid chipping or cracking the plexiglass.
What is the best way to assemble the plexiglass box?
Apply the adhesive suitable for plexiglass along the edges of the cut pieces. Hold the pieces together firmly for a few minutes to allow the adhesive to bond properly. Wipe off any excess adhesive with a clean cloth and let the box dry according to the adhesive instructions.
How can I ensure the edges of the plexiglass box are smooth and polished?
After the adhesive has dried, you can use fine-grit sandpaper to smooth out the edges of the plexiglass box. For a polished finish, you can also use a polishing compound specifically designed for plexiglass surfaces.
Final Thoughts
In conclusion, making a plexiglass box is a straightforward process that requires careful measurements, precise cutting, and secure assembly. Remember to use the proper tools, such as a scoring knife and acrylic cement, to achieve clean edges and seamless joints. By following these steps and being attentive to detail, you can create a functional and visually appealing plexiglass box for various purposes. Have fun exploring the possibilities of customizing your own plexiglass box for storage, display, or gifting!