
Drawing Taylor Swift easy can be fun and rewarding. Begin by sketching the basic outline of her features, focusing on capturing her signature style. Pay attention to details like her iconic curly hair and red lipstick. Practice shading to add depth and dimension to your artwork. Ready to learn how to draw Taylor Swift easy? Let’s dive in and unleash your artistic talent with these simple steps.

How to Draw Taylor Swift Easy: A Step-by-Step Guide
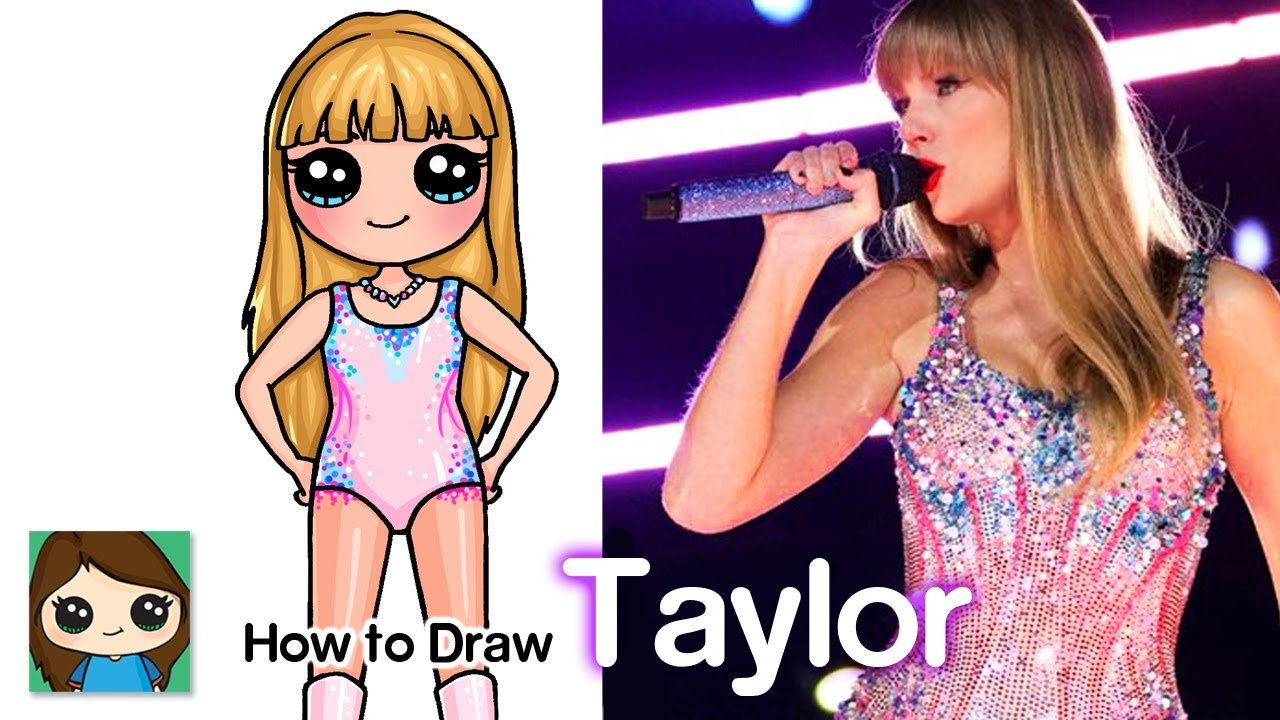
Welcome, young artists! Are you a fan of the talented singer and songwriter Taylor Swift? Have you ever wanted to learn how to draw her portrait easily? Well, you’re in luck! In this fun and engaging guide, we will walk you through simple steps to help you create a fantastic drawing of Taylor Swift. So, grab your pencils and paper, and let’s get started!
Materials You Will Need
Before we begin, let’s make sure you have all the necessary materials ready. Here’s what you’ll need:
- Pencil
- Eraser
- Sharpener
- Blank paper
- Reference image of Taylor Swift (optional)
Step 1: Start with Basic Shapes
Every great drawing begins with simple shapes. Let’s start by drawing a circle for Taylor’s head and a vertical line through the middle to help us place her features correctly. Don’t worry about making it perfect; this is just a guideline to get us started.
Step 2: Add Facial Features
Now, let’s add some of Taylor’s facial features. Draw two almond-shaped eyes on the horizontal line, a small oval for her nose, and a curved line for her smile. Remember, these are just basic outlines, and we can make adjustments as we go along.
Step 3: Hair and Outfit Details
Taylor Swift is known for her beautiful long hair and stylish outfits. Use flowing lines to sketch her hair cascading down her shoulders. You can also draw the neckline of her iconic dress or top. Take your time with this step and have fun adding details that make her look like Taylor!
Step 4: Refining the Drawing
Now that you have the basic outlines in place, it’s time to refine your drawing. Go over the lines you’ve drawn, making them darker and more defined. Pay attention to the details of Taylor’s eyes, lips, and other features to make your drawing more realistic.
Step 5: Adding Shadows and Shading
To make your drawing really pop, add some shading to create depth. Use your pencil to lightly shade areas where shadows fall, like under Taylor’s chin, around her eyes, and beneath her hair. This will give your drawing a three-dimensional look.
Step 6: Final Touches and Details
Once you’re happy with the overall look of your drawing, add any final touches and details to make it shine. You can use your eraser to clean up any stray lines and make sure everything looks polished. If you have a reference image, use it to check for accuracy.
Tips for Success
Here are some additional tips to help you succeed in drawing Taylor Swift easily:
Practice Makes Perfect
Don’t get discouraged if your first drawing doesn’t turn out exactly how you want it. Keep practicing, and you’ll see improvement with each attempt.
Use Light Lines
When sketching the initial outlines, use light, gentle lines that are easy to erase if needed. Once you’re satisfied with the placement, you can darken the lines for a finished look.
Study Taylor’s Features
Take some time to observe Taylor Swift’s unique features, such as her curly hair, bright eyes, and signature red lips. Paying attention to these details will help you capture her likeness accurately.
Have Fun and Be Creative
Drawing should be a fun and creative process, so don’t be afraid to put your own spin on the portrait. Experiment with different styles and techniques to make the drawing your own.
Congratulations, young artists! You’ve now learned how to draw Taylor Swift easily with these simple steps. Remember to practice regularly and enjoy the process of creating beautiful artworks. Who knows, maybe one day you’ll become a famous artist just like Taylor Swift is a famous singer! Keep drawing, keep dreaming, and have fun!
How to Draw Taylor Swift | LOVER Eras Concert Tour
Frequently Asked Questions
How can I draw Taylor Swift easily?
To draw Taylor Swift easily, start by finding a reference image of her that you want to draw. Then, sketch the basic outlines of her face and features using simple shapes like circles and ovals. Pay attention to the proportions and position of her eyes, nose, and mouth. Add in details gradually and refine the drawing as you go along. Practice and patience are key to capturing her likeness accurately.
What are some tips for drawing Taylor Swift’s hair?
When drawing Taylor Swift’s hair, break it down into sections and focus on the flow and texture. Start by sketching the overall shape of her hairstyle, then add in strands and layers to give it volume and movement. Pay attention to the direction in which her hair falls and use light, feathery strokes to create a realistic look. Don’t worry about getting every strand perfect, focus on capturing the general feel of her hair.
How can I draw Taylor Swift’s iconic signature look?
To draw Taylor Swift’s signature look, pay close attention to her features and style choices. Focus on capturing her expressive eyes, distinctive eyebrows, and signature red lipstick. Pay attention to details like her fashion choices and accessories that contribute to her overall image. Practice drawing her unique facial expressions and body language to truly capture her individuality in your artwork.
Final Thoughts
In conclusion, drawing Taylor Swift easy involves breaking down her features into simple shapes and gradually adding detail. Start with a light sketch to get proportions right. Then, focus on her signature hairstyle and expressive eyes. Remember, practice is key to mastering how to draw Taylor Swift easy confidently. With patience and dedication, anyone can capture her likeness effortlessly.